
Create a Job Posting
Create a Job Posting:
WATCH VIDEO TUTORIAL >
JOB OVERVIEW
Jobs > Hiring Company: Post New Job:
Job Overview: Enter the job detail overview for the opportunity, including:
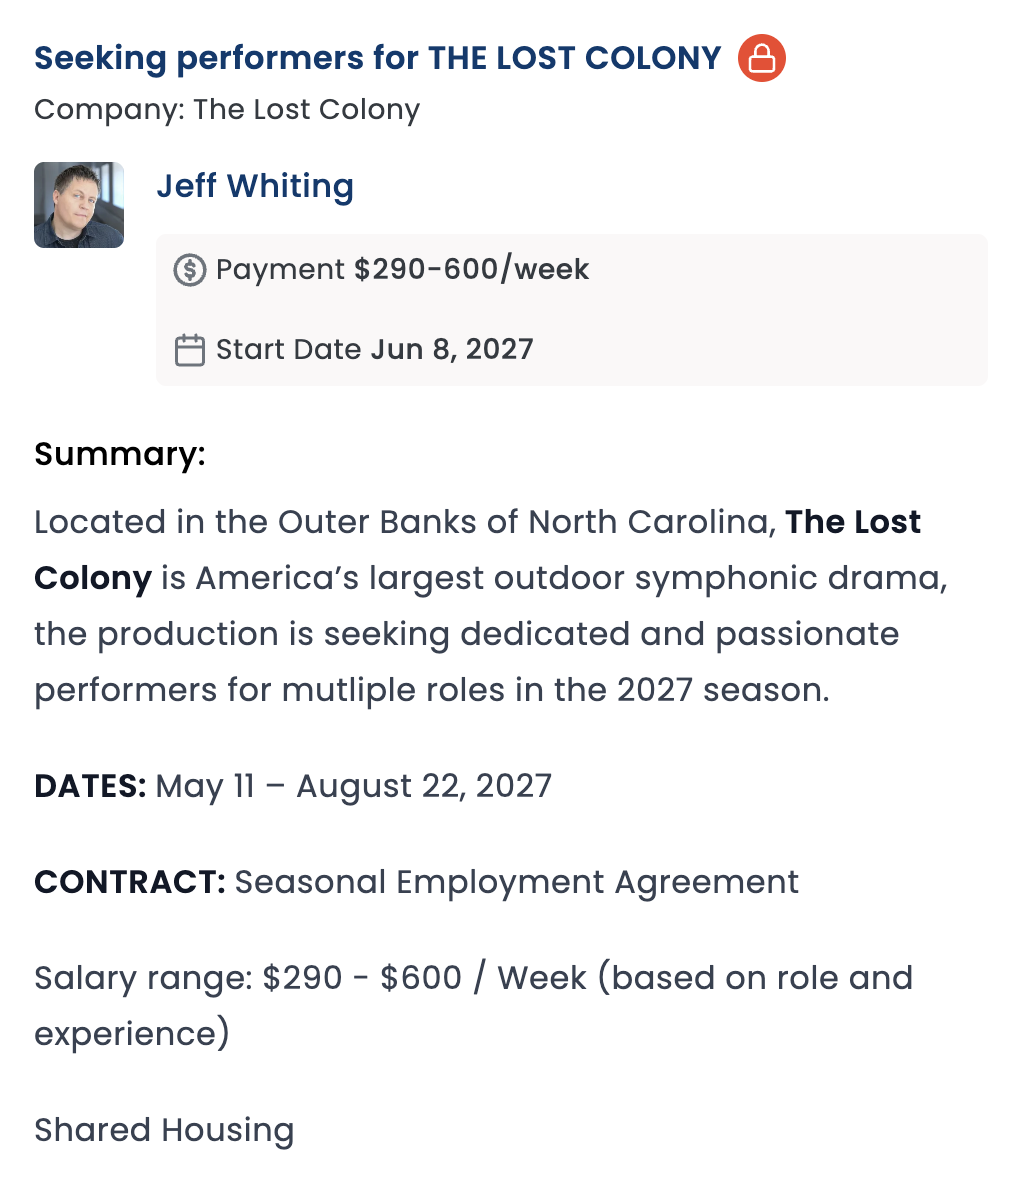
Job Title: This is what the main title of the job posting will show on the board.
Client/Company Name: Who is the hiring company?
Contract Type: Choose the type of contract includes.
Start Date: This is the date when the job posting will disappear.
Pay: Share pay details.
Description: Describe the overall objectives with the search. Specific details about the role will be entered with each role.
Address: Indicate location or remote opportunity.
Application Types:
No Action: This will allow applicant to just press ‘submit’ and this will express their general interest in the job and you can review their profile to determine next steps. The risk in this option is that if the user has an incomplete profile or missing contact details, it may be difficult to contact them.
External Link: You can send them to an external link to apply to the position. You will no longer manage the applications in the app. Enter the URL and save.
Custom Form: Create a custom form to make sure you have the information and detail you may need to decide next steps. You can choose to ask them to fill out the form upon immediate submission or after you have sent them an invitation to submit.
Audition Instructions: This information will be shared only AFTER you have invited applicants to apply. This allows you to send specific instructions, links to sides, and ensure it is only viewed by those you want to have access.
Public/Private Link:

Public: This job will be viewable by the public.
Private: The job will not be found by the public. You can send the link only to those you want to submit for the job.
ADD ROLES
ADD ROLES: Tap ‘Add Role’ to add a role to the job post:
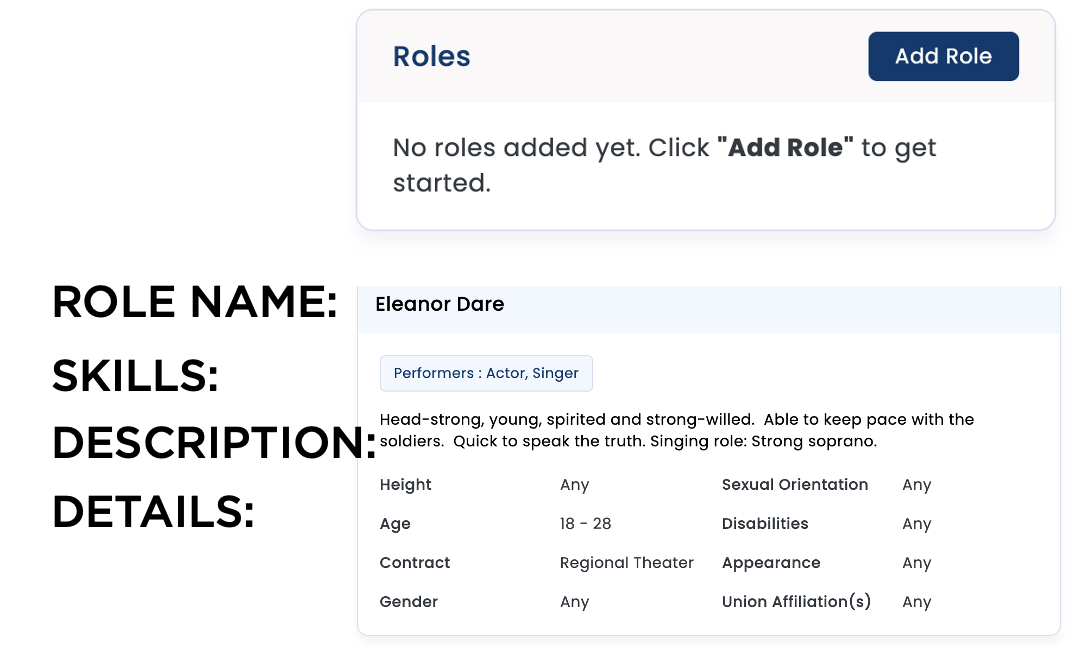
Role Name:
Deadline:
Skills/Role Type Seeking:
Description:
Union:
Gender:
Role Portrayed Gender:
Age Range
Sexual Orientation:
Disability:
Ethnicity/Culture/Race:
PERFORMER ROLES: When a performer role is selected, additional details about the performer also appear:
Gender to Portray: Applicant’s comfort in playing roles played in gender identifications. (or choose ANY)
Age of role: Identify range of age qualifications (or choose ANY)
Height Range: Express range of height qualifications (or choose ANY).
Save Draft: You can save your project as a draft, allowing you to return to complete the posting at a later time. Tap ‘SAVE DRAFT’. To find your drafts go to Jobs > Drafts to continue editing.
SHARE JOB POSTING
Preview and Publish Job:
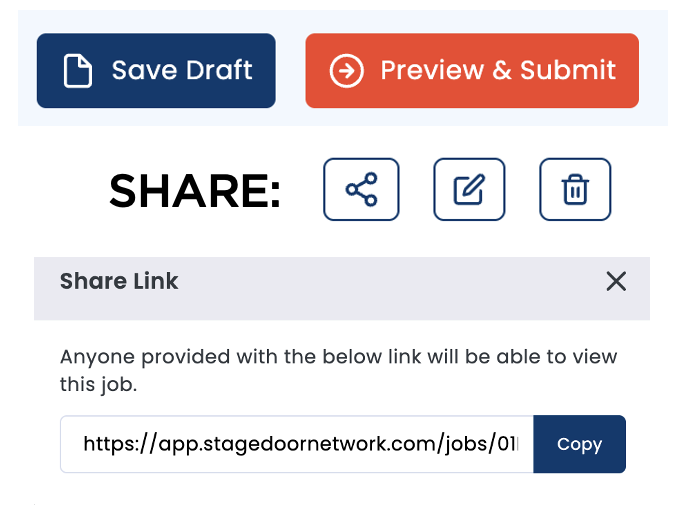
When you are ready, you can preview how it will appear to applicants by tapping PREVIEW.
Once you are happy with the posting, click SUBMIT.
Job Posting Approval:
Once you have submitted your job posting, the team will review and publish before it will appear on the job board. Once approved you will receive a notification and you’ll see the live link you can share with users to apply.
Share Job Posting:
Link: Send the URL link to allow people to begin the application process. Find the link by opening the job post > click the share icon to reveal the URL link you can copy and share with applicants.
CUSTOM FORM:
You can create a customized form to ask specific questions about the applicant to help determine next steps. For example, you may want to ask about availbility or contact information. Use the form to create your form, including:
Add Custom Form
Choose when you want applicants to fill out the form. Their answers are kept with the submissions as you determine next steps.
Upon application: Before submitting, they must answer the questions.
After you have sent them an invitation to apply: User will just hit submit and then you can review their profile and determine if you want them to fill out the form.
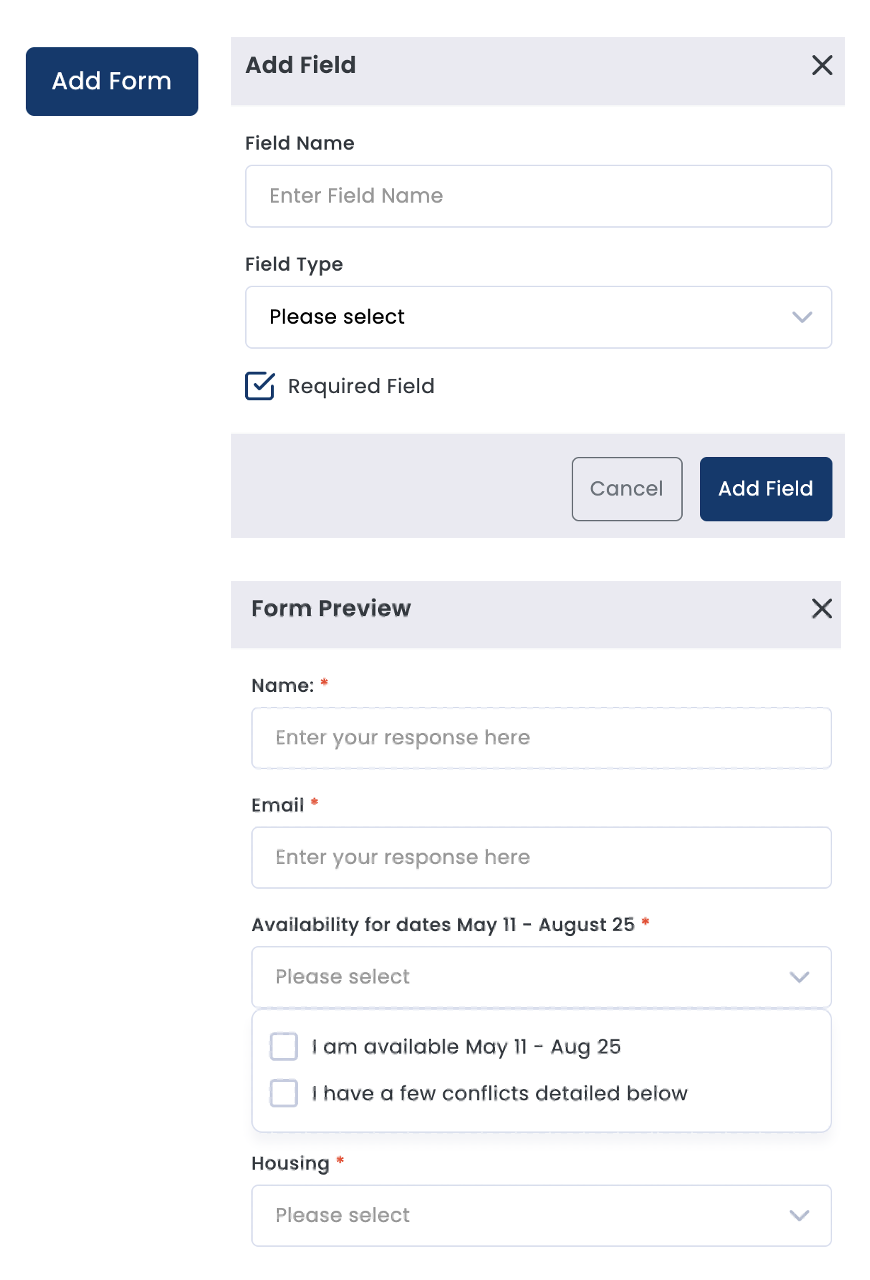
Add Form > Create New Form > Add Field:
Field Name: This is the question the applicant will read.
Field Types: Choose the appropriate type
Large/Long Text
Small/Short Text
Dropdown List: Create a list of options to choose from
File
Make Required Field (or not) in order to be completed.
Save Field
Add additional questions as needed.
Re-Order Questions: You can add multiple questions as needed.
Sort Fields: You can re-order the questions by tapping SORT FIELDS.
Drag: Then drag each question to the preferred order.
Save Order: Once they are in the correct order, tap SAVE ORDER.
Preview Form: Look at the preview of how the form will look to your applicants.